Here’s the scenario: you own an online store selling what you believe is a product that people want to buy, but for some reason, you’re not making any sales.
So what gives? It could be a number of things but one of the most common things that fail to sell your product is poor photography.
After all, how are customers going to buy something they can’t visualise or looks terrible?
High-quality product photography is incredibly important as it communicates to your customer what your product looks like.
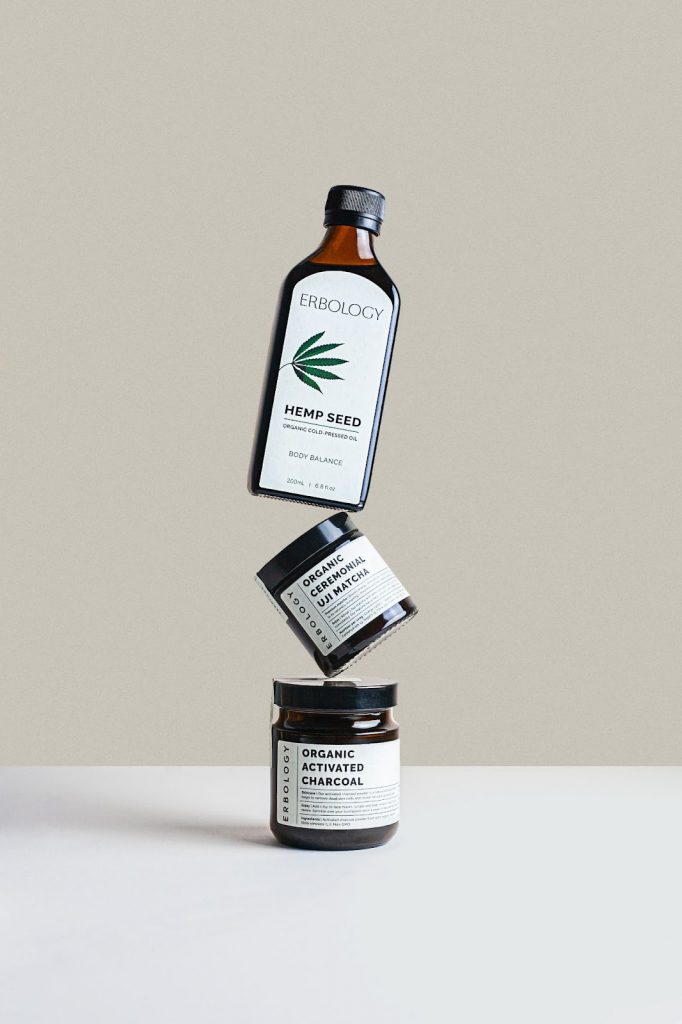
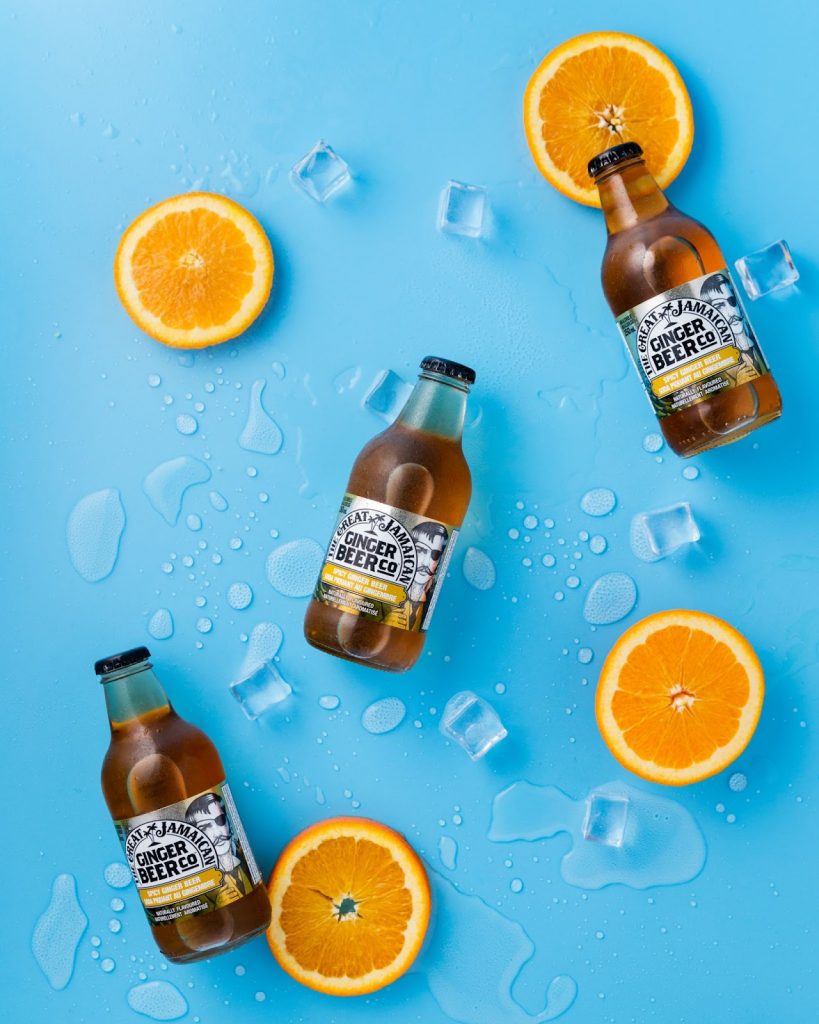
What do your product photos look like? Source: Google
What is it? How big is it? How attractive does it look? Amazing product photography communicates all that and more.
So the question that is left is: how to shoot product photography that will bring in more sales and profits. We’ve got you covered on that front – we’ve got 8 tips that will help you shoot great photos. Let’s get into it!
8 Easy Product Photography Tips
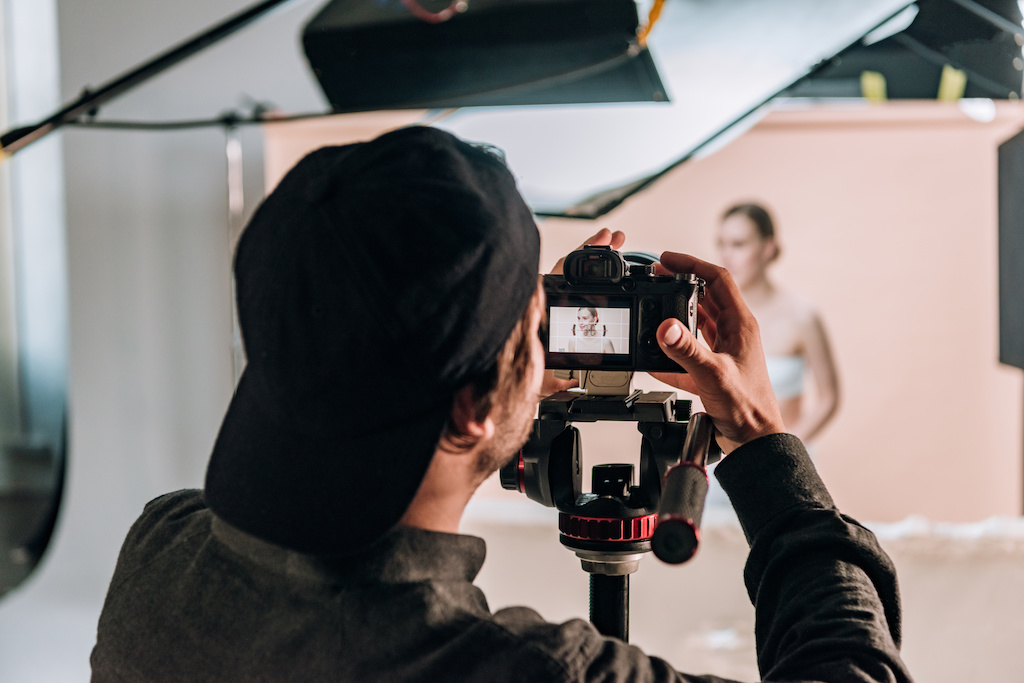
Tip 1: Get the right equipment
Shooting photos just with your iPhone won’t cut it any more. To shoot great product photos, you will need a variety of additional equipment. The following equipment can make your product look as good as possible, which might be the thing that results in a sale!
- A good quality camera such as a DSLR.
- A tripod for stability
- Different coloured sweeps for backgrounds
- Bounce cards to reflect light
- Tables and tape
For more advanced photography, you can consider things such as tether cables to shoot directly into a computer or remote shutter releases.
Tip 2: Choosing between natural and artificial lighting
When shooting your product shots you’ll want to make sure you have the right lighting. Without it, your product (and your background or props) won’t appear how it does to you in person.
When learning how to shoot product photography, you’ll discover that there are two types of lighting: natural and artificial.
Natural lighting from the sun is great for when you want to communicate natural, authentic or homely vibes with your product.
Two types of lighting: Natural (left) and Artificial (right). Source: Google
On the other hand, artificial lighting (sourced from studio lights) is great for indoor products such as cookware where highlighting small details is key.
Tip 3: Filling and bouncing light
If you’re new to photography these terms might sound a little funny. What does it mean to fill or bounce light?
Filling or bouncing light are ways to modify your light source to add depth to your product photos.
Bouncing light refers to literally bouncing the light from your light source onto your product. This helps minimise strong shadows, creates a more softer effect and helps bring out the smallest details of your product. Creating bounced light can be achieved with simple tools such as a white poster board.
Filling light can be done by sandwiching your product between the main light source and your main light source. This balances the amount of light being cast on the product; lessening shadows.
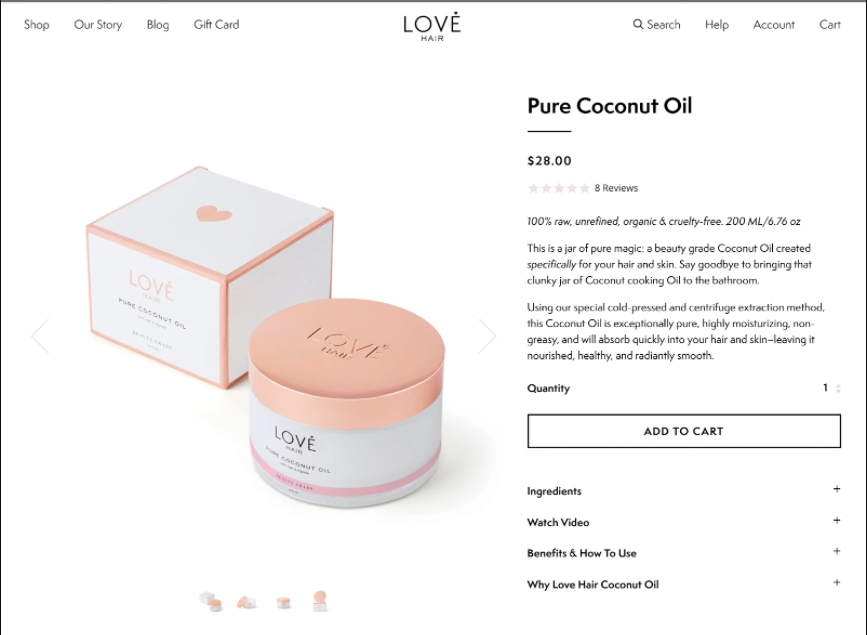
Tip 4: Choose the right backgrounds
Choosing the right background in the photos of your products can help amplify or reinforce how you want your buyers to perceive it.
Want to show off just how natural your skincare product is? Shoot it with a real background of flowers or nature. Or maybe you want to emphasise a product’s clean image? A white background does the job!
When shooting with a real life background make sure the background doesn’t steal any thunder from the actual product! The portrait mode on many cameras can help blur the background, putting more emphasis on the product itself.
For white backgrounds, you need to make sure it’s seamless and unnoticeable. Sweeps can help achieve this, putting all the attention on your product.
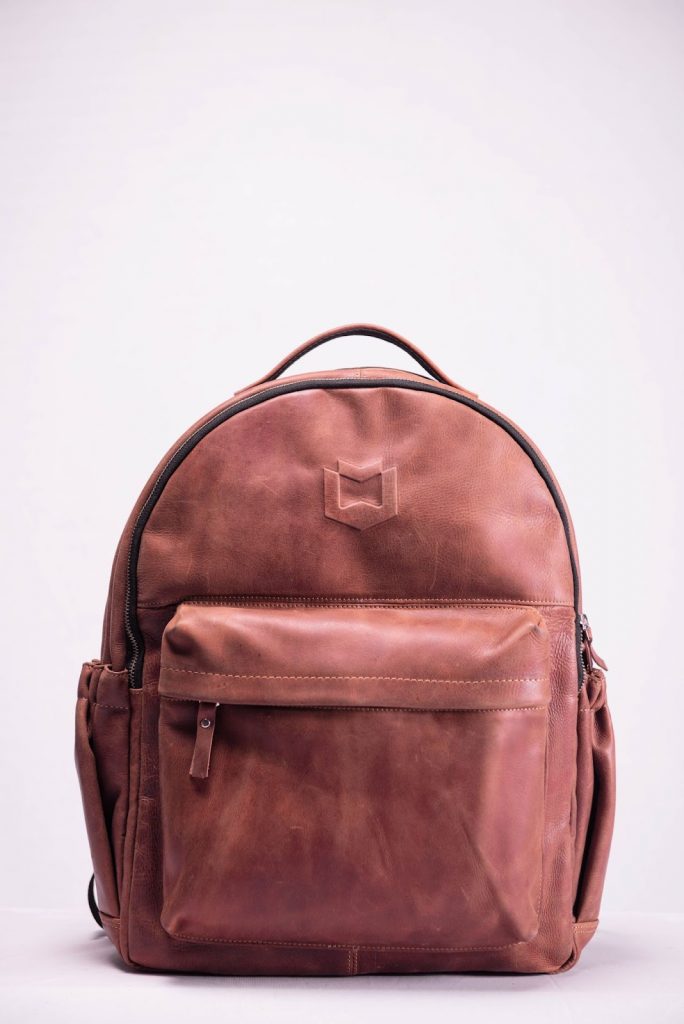
White backgrounds are a common choice for skin care products. Source: Unsplash
Sweeps aren’t limited to just white – you can try other colours as well. Anything to make your product stand out!
Consider your studio setup and have some different sweeps ready to go at any time.
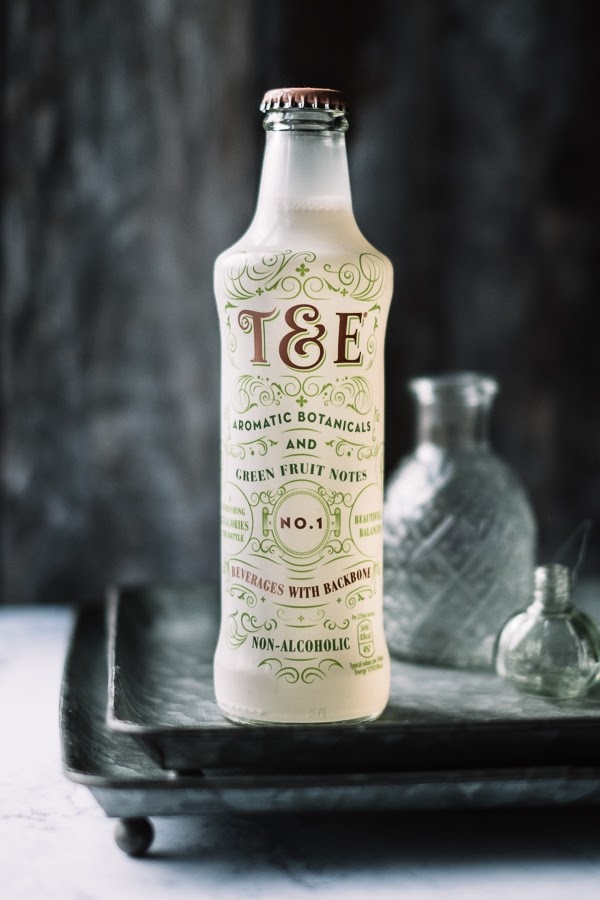
Tip 5: Use simple props
Props act to add context, character and interest to a product photo. Be careful however, because overusing props or using distracting props can confuse and distract customers.
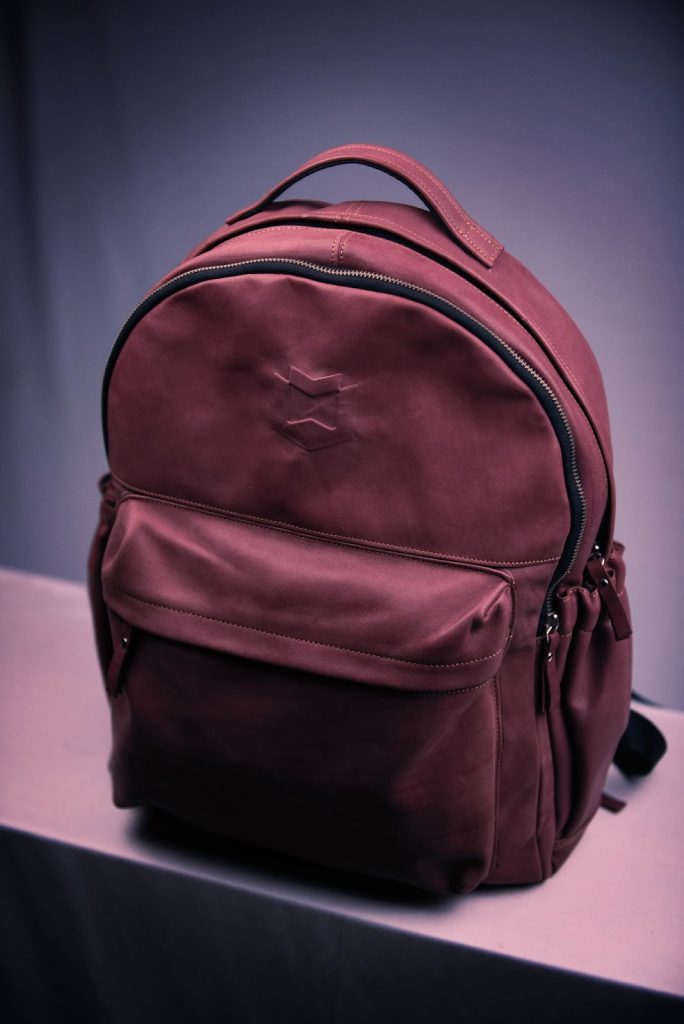
Using props can reinforce the perceptions you want your product to convey! Source: Unsplash
Much like backgrounds, using simple, effective props that relate to your product will help reinforce the perceptions and image you want customers to associate with your product.
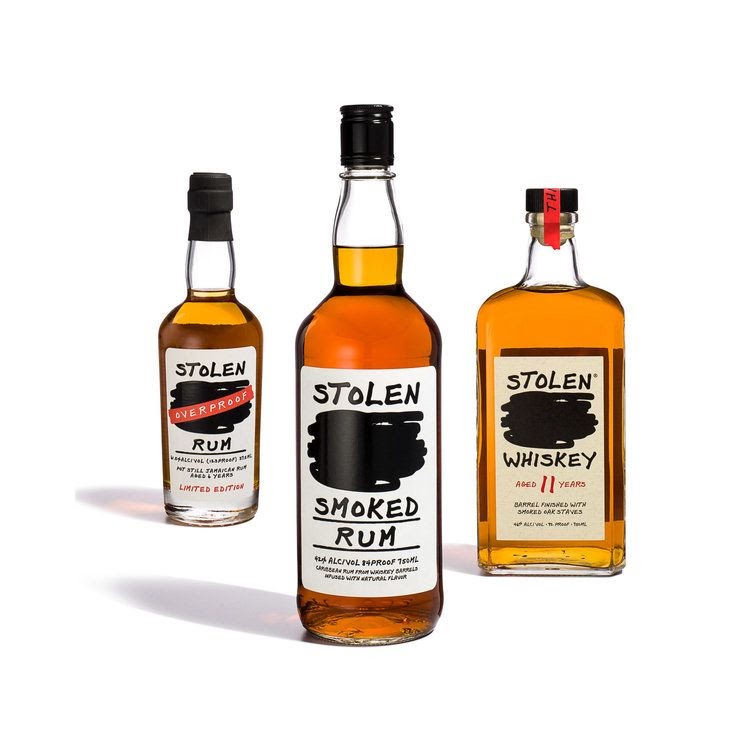
Tip 6: Shoot a variety of images
Want to learn a great tip on how to shoot product photography? Shoot a lot of images.
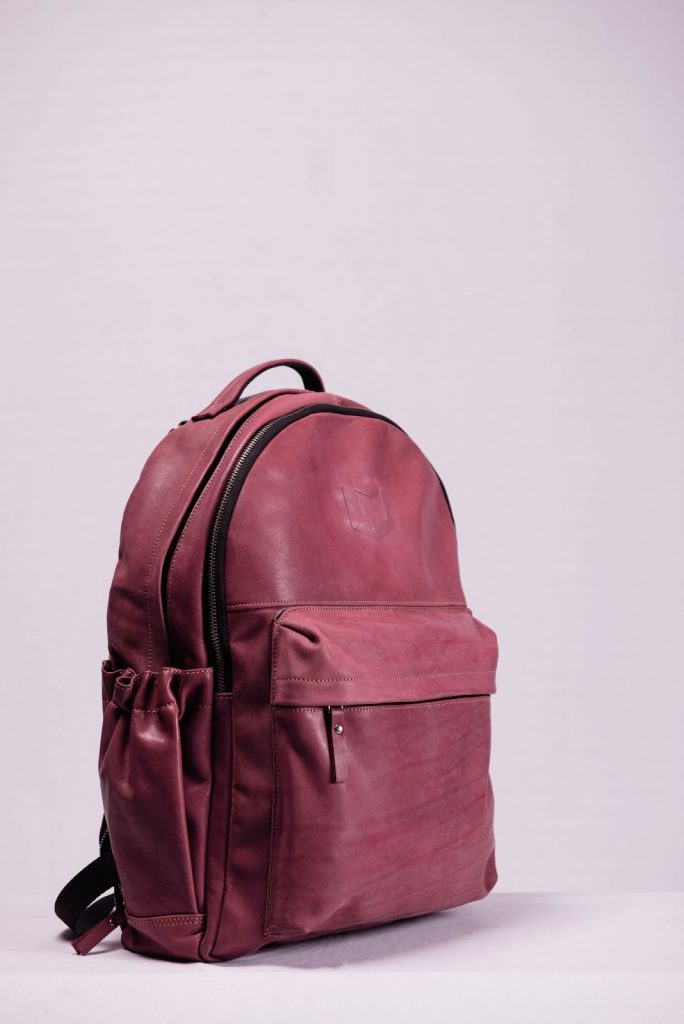
Multiple photos to show off multiple angles. Source: Unsplash
You want to show off your product to your customers in as many ways as possible. Not only are you showing off every aspect of it, but you’ll also be able to show different ways you can use it.
Tip 7: Take inspiration from your favourite brands
If the creative juices aren’t flowing, taking a look at the product photos some of your favourite brands have done is a great way to kickstart that imagination.

Source: Unsplash
You can find them on their website or on their social media pages.
We’re not saying copy their entire gallery frame for frame, but seeing how they may have positioned their products or used different props can give you the idea you’re looking for!
Tip 8: Shoot for the edit
Most photographers edit their product images to adjust their shots in a process called post-shooting editing. In this process, photographers will use photo editing software such as PhotoShop to fix or adjust their photos like brightening shots to cropping unwanted parts, to make them perfect.
Photo editing is common but it doesn’t substitute good photography techniques. It can also be very time consuming and tedious.
Knowing that you’ll be editing your photos, you should always ‘shoot for the edit’. What does this mean? It involves planning beforehand to make the post production editing process easier. Make sure you have the correct lighting in place, the right equipment and are decisive about the direction of your photoshoot.
Get more sales with great product photography
As we mentioned at the top of this article, learning how to shoot product photography will help your customer better understand what it is you’re selling. The easier they are able to visualise and conceptualise your product, the more likely they will commit to making a purchase from your e-commerce store!
Want more tips to how to get more sales on your online store? Follow the ZipZipe blog to find articles that show you just that!